


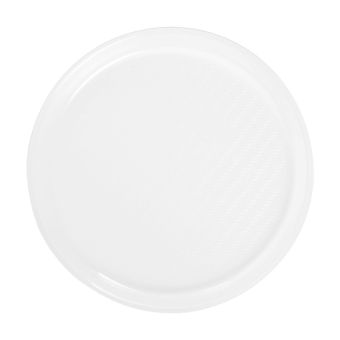
Ceramic Seder Plates - Ships from CA & NJ
Quick Overview:
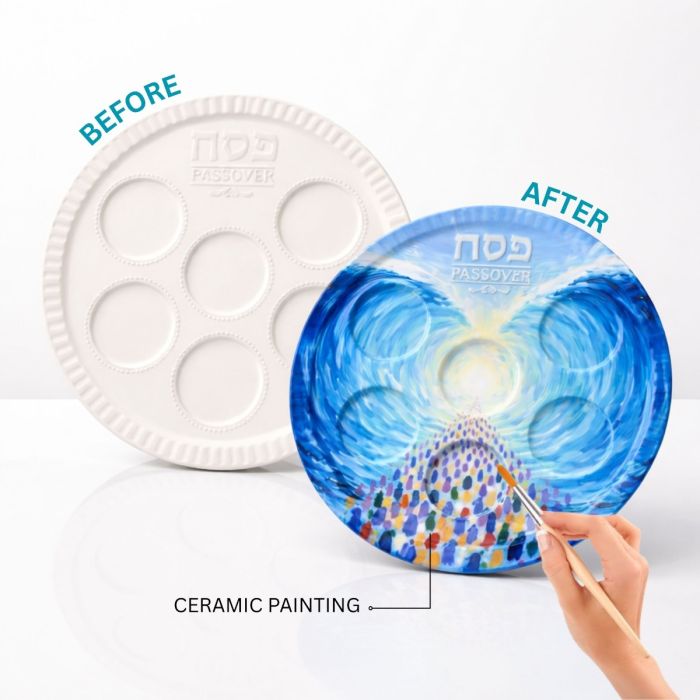
This Ceramic Seder Plate is the perfect addition to your Pesach table.
Made from kiln-fired ceramic, it is ideal for painting and decorating to create your own personalized Seder plate.
You can then glaze it with shellac or seal it with an acrylic sealer for a beautiful finished product.
You can also place disposable inserts in your Seder Plate for the Seder foods.
Product Details
-
Size: 11 inches diameter
-
Weight: 2.34 lbs
-
Color: Natural ceramic white
-
Washable: Yes — gentle hand wash recommended
- Packaging Details: Sold in Increments of 1, master cases of 12


Packaging Details:
| Product | Packaging | Weight | Dimension |
|---|---|---|---|
| Ceramic Seder Plates - Ships from CA & NJ | The items is bundled as Packs of 1, Case Quantity of 12. | The Weight for each bundle is 28.13 lbs for the case. | The Dimensions is 25.95 L x 13.11 W x 16.53 H inches for the case. |
| Ceramic Marker - 7 colors | The items is bundled as Packs of 1, Case Quantity of 150. | The Weight for each bundle is 0.19 lbs for the 1 Pack, 28.66 lbs for the case. | The Dimensions is 16.5 L x 15.7 W x 16.3 H inches for the case. |
| Purim Ceramic Face Mask | The items is bundled as Packs of 1, Packs of 4, Case Quantity of 12. | The Weight for each bundle is 0.9 lbs for the 1 Pack, 3.59 lbs for the 4 Pack, 10.78 lbs for the case. | The Dimensions is 16.5 L x 12.91 W x 12.8 H inches for the case. |
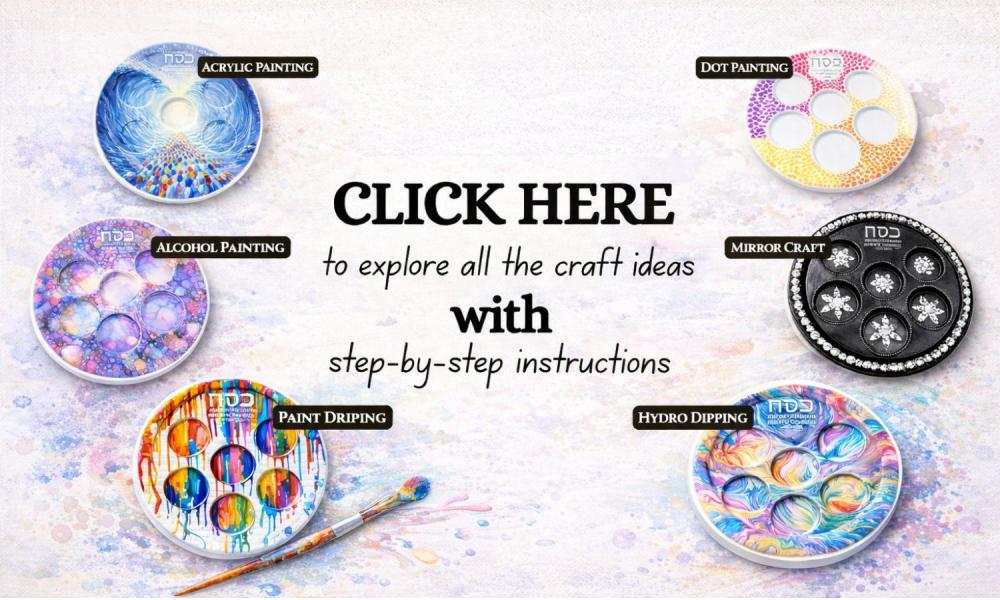
CRAFT IDEAS
[1]
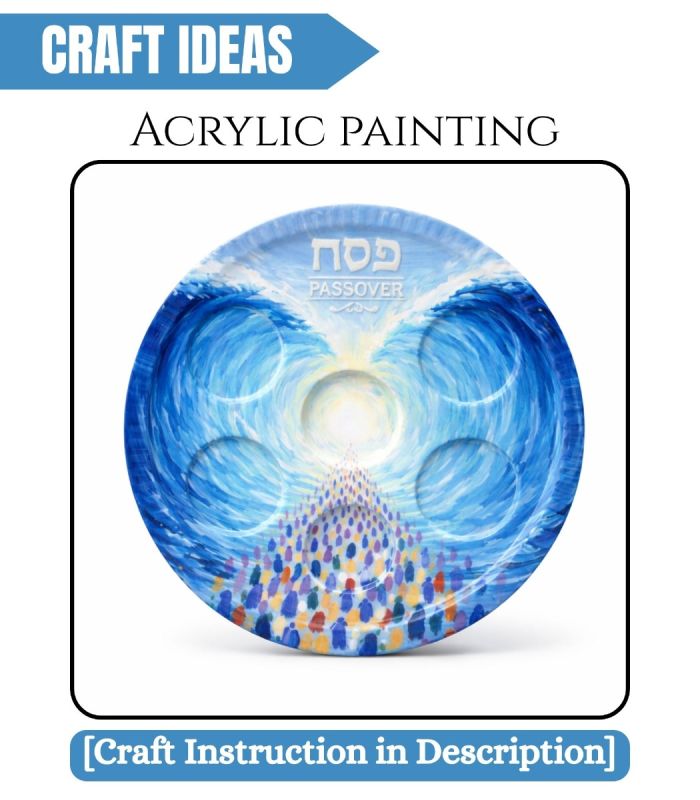
Acrylic Painting
Materials:
≫ Optional: Plastic sheets and gloves (for protecting surfaces and hands)
Instructions:
-
Prepare your surface: Wipe the plate with a dry cloth to remove any dust or debris.
-
Layout your design: Use a light pencil to trace your design first. This will make it easier to paint your desired design onto the plate.
-
Start painting: Using acrylic paints and your preferred brushes, begin painting your design. You can layer colors for depth or use different brush sizes for detail work.
-
Dry completely: Allow the paint to dry completely (at least a few hours) before moving on to the next step.
-
Seal your design: To protect your artwork, apply 2-3 coats of Clear acrylic sealer OR Shellac Polish. Let each coat dry fully before applying the next.
[2]
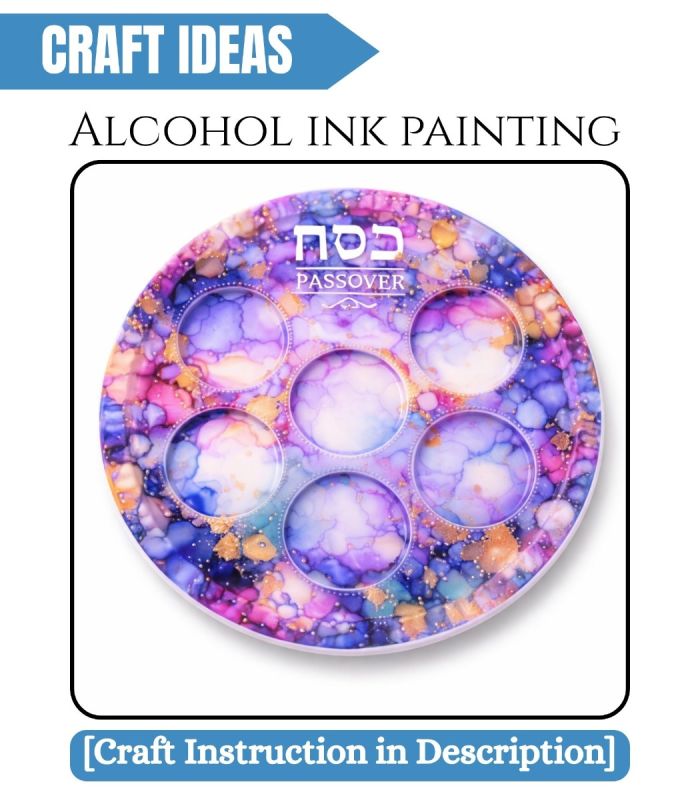
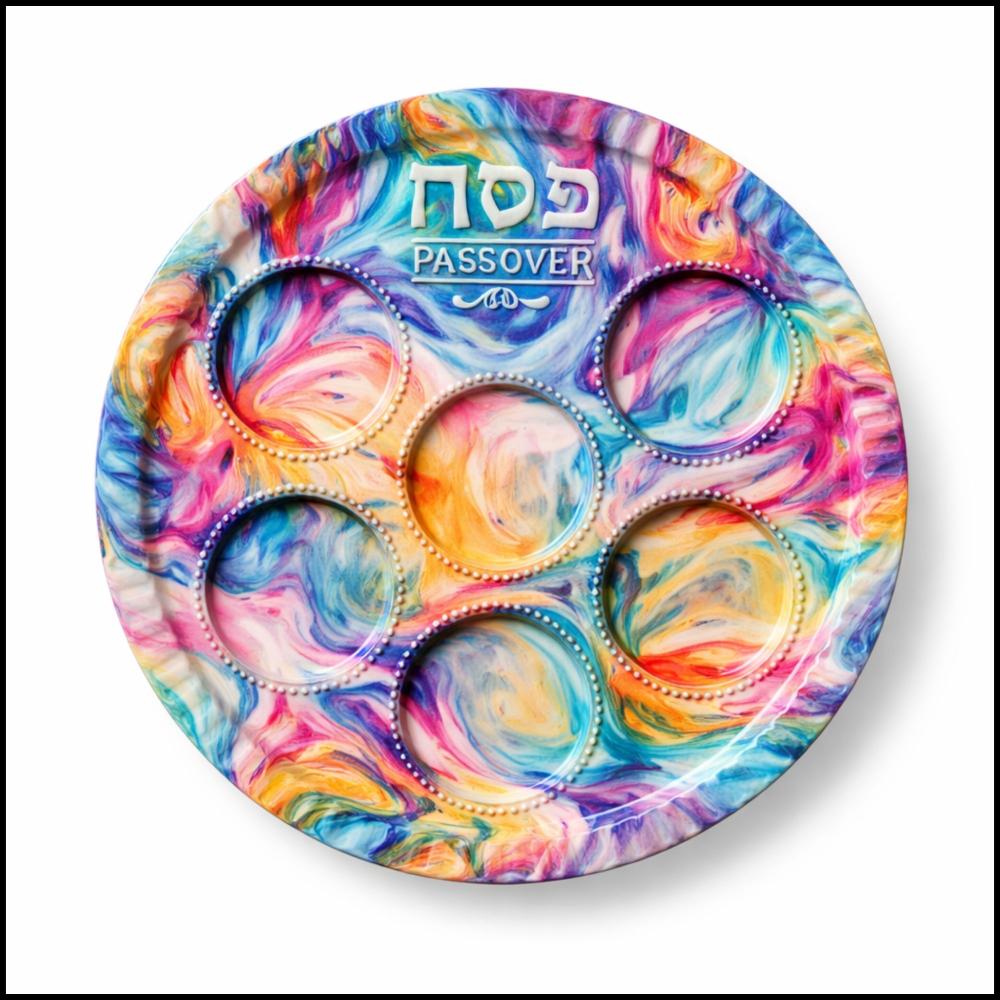
Alcohol Ink Painting

Materials:
-
Alcohol inks [Amazon]
-
Isopropyl alcohol (for blending effects) [Amazon]
-
Rubber Blower [Amazon] or Plastic Straws
≫ Optional: Plastic sheets and gloves (for protecting surfaces and hands)
Instructions:
-
Prepare the surface: Wipe the plate with a dry cloth or tissue paper to remove dust or debris.
-
Apply a coat to seal: To create a smooth, shiny surface for the ink to move and blend more freely, apply a thin layer of clear acrylic sealer OR Shellac Polish to the plate and let it dry completely.
-
Apply isopropyl alcohol: Drop small amounts of isopropyl alcohol onto the plate. This helps the ink spread and blend more freely.
-
Apply the alcohol ink: Drop small amounts of alcohol ink onto the plate. The ink will start to spread over the alcohol.
-
Move the ink: Use a rubber blower or plastic straw to gently move the ink around the plate, creating a beautiful, flowing design.
-
Add color: Use 4 or 5 different ink colors to create a beautiful, vibrant design. Layer the colors to create a marbled or blended effect.
-
Let the design dry: Allow the alcohol ink to dry completely.
-
Seal the artwork: Apply 2–3 coats of Clear acrylic sealer OR Shellac Polish to protect the design. Let each coat dry fully before applying the next.
Optional Step: For a more professional look, you can use metallic markers to highlight the embossed design of the plate, giving it an elegant touch.
[3]
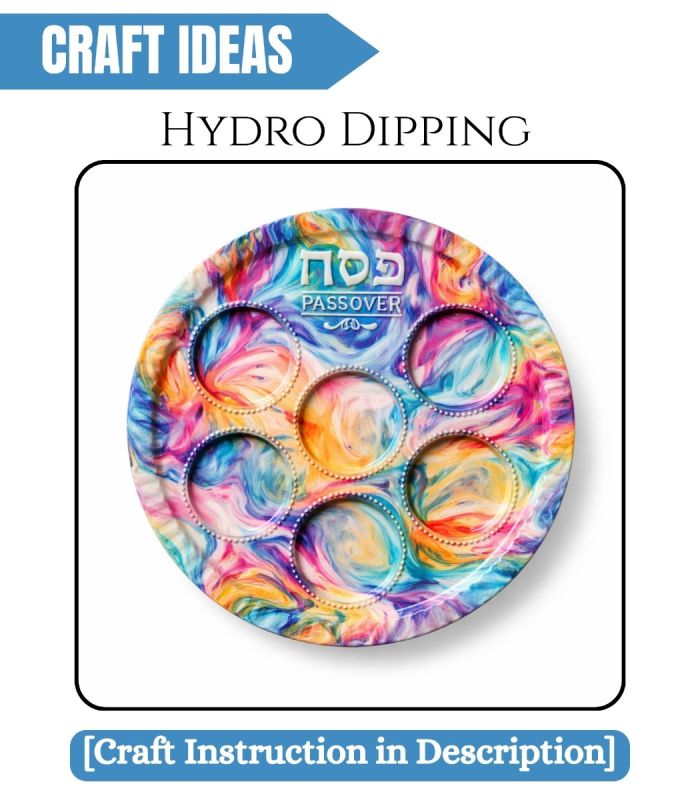
Hydro Dipping
Materials:
-
Hydro dipping paints [Amazon]
-
Large container filled with room-temperature water
≫ Optional: Plastic sheets and gloves (for protecting surfaces and hands)
Instructions:
-
Prepare your surface: Wipe the plate with a dry cloth to remove any dust or debris.
-
Prepare your water container: Fill a large container with room temperature water deep enough to fully submerge the plate.
-
Drop the paint: Drop hydro dipping paint on the surface of the water. You can layer different colors and create various effects by moving the paint using a toothpick.
-
Dip the plate: Gently lower the plate into the water at a slight angle to ensure it picks up the paint. Hold the plate steady for a few seconds to let the design adhere to the surface.
-
Let it dry: Remove the plate from the water and let it dry completely.
-
Seal your design: Apply 2-3 coats of Clear acrylic sealer OR Shellac Polish to protect the design. Let each coat dry fully before applying the next.
Optional Step: For a more professional look, you can use metallic markers to highlight the embossed design of the plate, giving it an elegant touch.
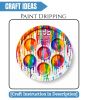
[4]
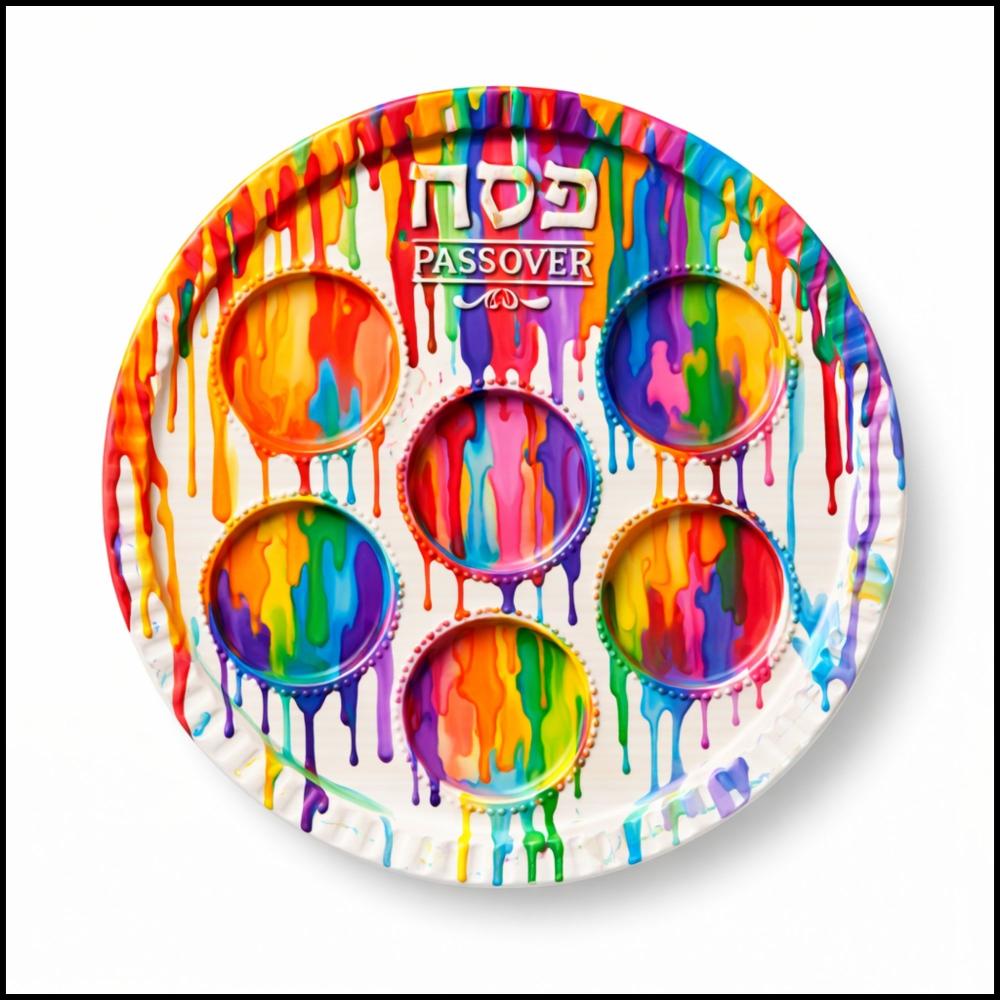
Paint Dripping
Materials:
≫ Optional: Plastic sheets and gloves (for protecting surfaces and hands)
Instructions:
-
Prepare your surface: Wipe the plate with a dry cloth to remove any dust or debris.
-
Set up your workspace: Place the plate on a protected surface, such as plastic or newspaper, to avoid paint splashes.
-
Drip the paint: Using acrylic paints, pour or drip the paint from the rim of the plate or over the compartments.
-
Guide the drips: Gently tilt the plate to move the paint around the plate, creating a stunning, marble-like finish.
-
Let it dry: Allow the paint to dry completely (at least a few hours) before handling.
-
Seal your design: Apply 2-3 coats of Clear acrylic sealer OR Shellac Polish to protect the design. Let each coat dry fully before applying the next.
Optional Step: For a more professional look, you can use metallic markers to highlight the embossed design of the plate, giving it an elegant touch.
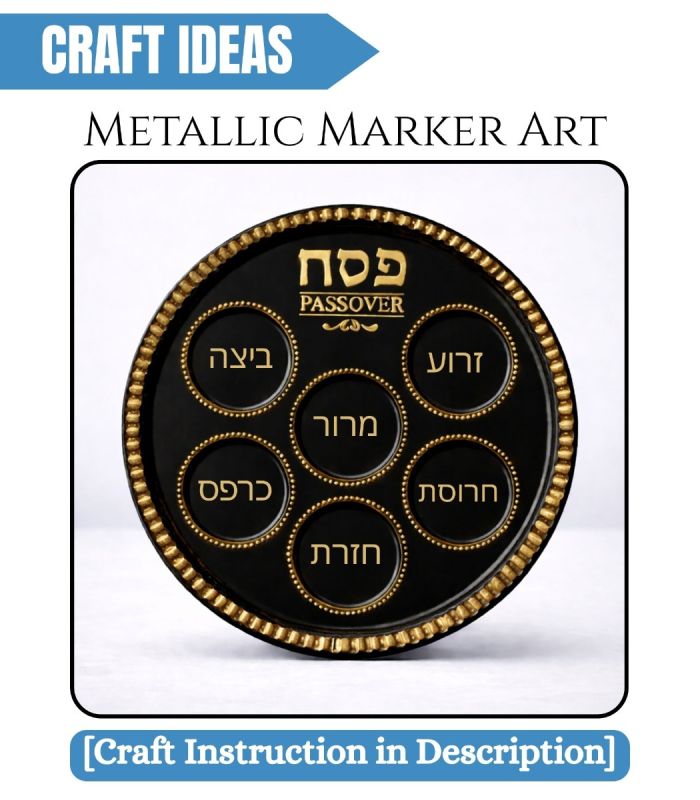
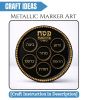
[5]
Metallic Marker Art
Materials:
≫ Optional: Plastic sheets and gloves (for protecting surfaces and hands)
Instructions:
-
Prepare your surface: Wipe the plate with a dry cloth to remove any dust or debris.
-
Paint the background: For a bold, contrasting effect, spray paint the plate’s surface black. Let it dry completely before proceeding [recommended time 10-15 minutes].
-
Plan your design: Lightly sketch your design with a pencil if you want to have a guide for your metallic markers.
-
Start drawing: Using metallic markers, begin outlining your design. Add detailed accents, intricate patterns, or lettering for a shiny, polished finish against the black background.
-
Let it dry: Allow the metallic markers to dry completely before handling.
-
Seal your design: Apply 2-3 coats of Clear acrylic sealer OR Shellac Polish to protect the design. Let each coat dry fully before applying the next.
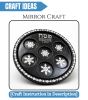
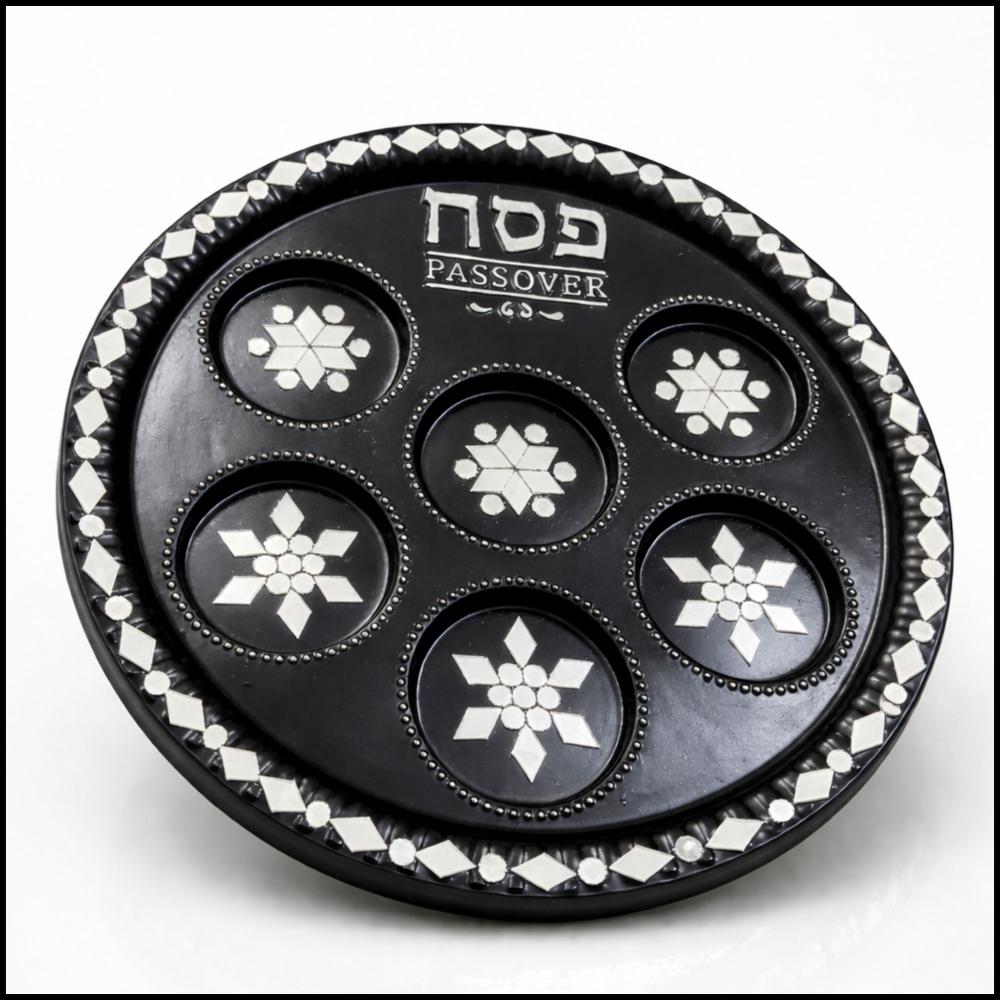
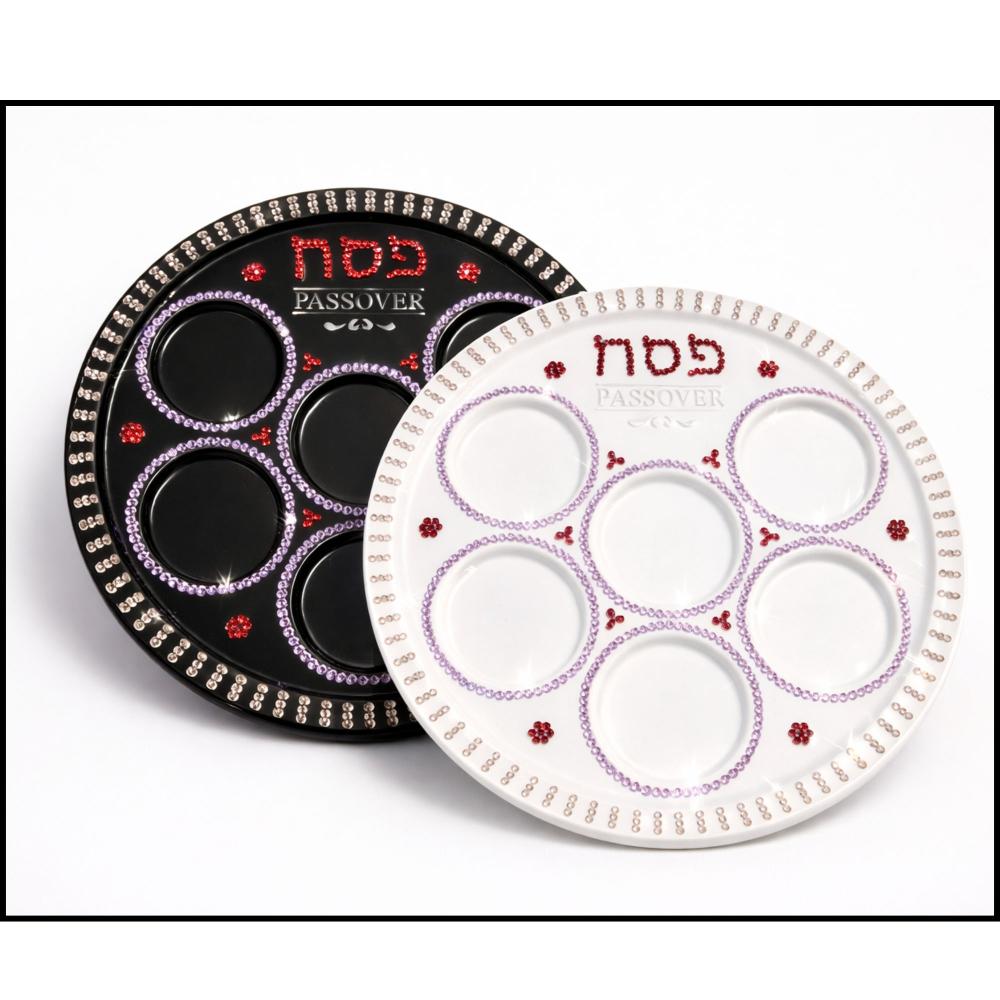
[6]
Mirror Craft
Materials:
-
Small mirror tiles or pieces [Amazon]
-
Strong craft glue (e.g., E6000, B7000 or super glue) [Amazon]
-
Tweezers (for placing small mirrors) [Walmart]
-
Black spray paint (for background) [Walmart]
≫ Optional: Plastic sheets and gloves (for protecting surfaces and hands)
Instructions:
-
Prepare your surface: Wipe the plate with a dry cloth to remove any dust or debris.
-
Paint the background: For a bold, contrasting effect, spray paint the plate’s surface black. Let it dry completely before proceeding.
-
Plan your design: Lay out the mirrors on the plate to decide where you want them. You can arrange them in a pattern or place them randomly.
-
Apply glue: Apply a small amount of strong craft glue to the back of each mirror piece.
-
Place the mirrors: Use tweezers to place each mirror onto the glued spots carefully. Press them gently to ensure they stick properly.
-
Let it dry: Allow the glue to dry completely before handling the plate (follow the glue’s recommended drying time).
Optional Step: For a more professional look, you can use metallic markers to highlight the embossed design of the plate, giving it an elegant touch.
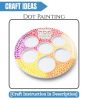
[7]
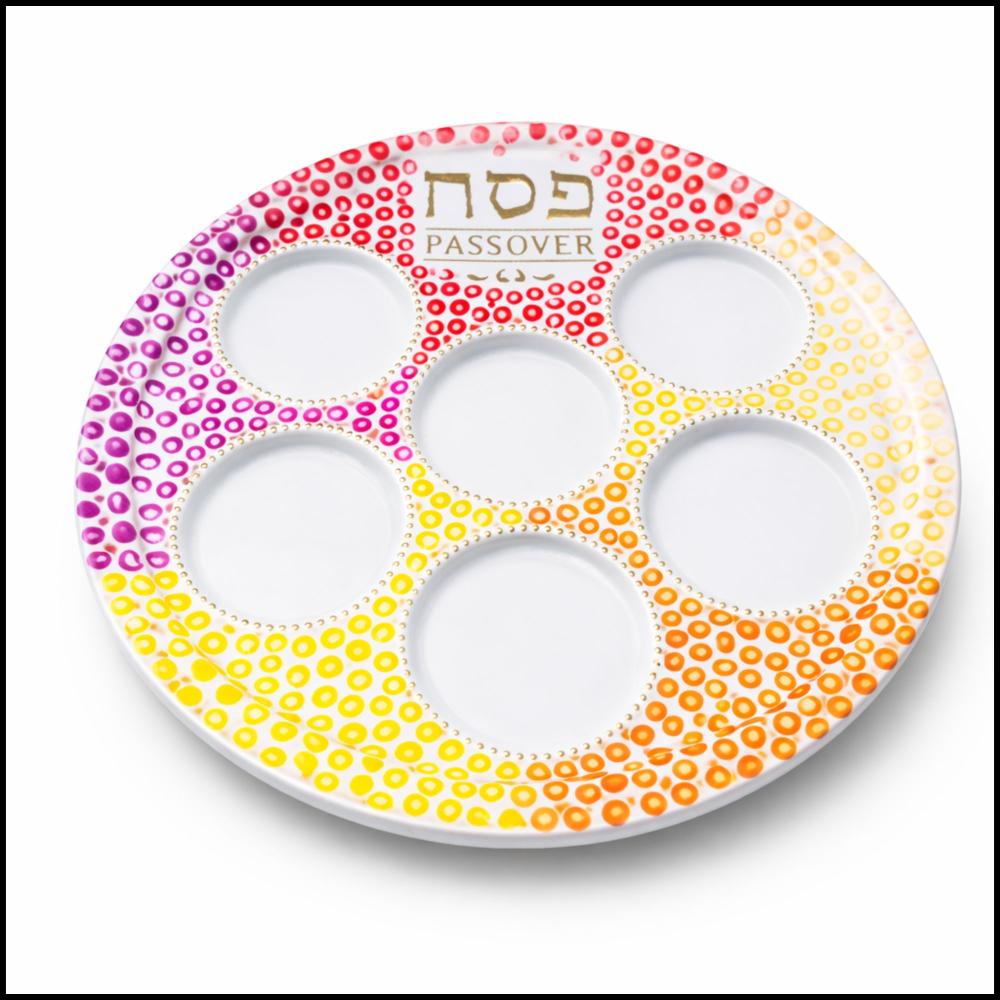
Dot Painting
Materials:
≫ Optional: Plastic sheets and gloves (for protecting surfaces and hands)
Instructions:
-
Prepare your surface: Wipe the plate with a dry cloth to remove any dust or debris.
-
Plan your design: Lightly sketch your design with a pencil if desired, or you can start creating directly with dots. You can make a pattern, design shapes, or create a border.
-
Dip your tool: Dip your cotton swab into your chosen paint color. Gently press it against the plate to create uniform dots.
-
Create your design: Use different colors and dot sizes to build up your design. You can create layered effects by letting one layer dry before adding another.
-
Let it dry: Allow the paint to dry completely before handling.
-
Seal your design: Apply 2-3 coats of Clear acrylic sealer OR Shellac Polish to protect the design. Let each coat dry fully before applying the next.
[8]
Beadazzling Craft
Materials:
-
Beadazzling kit [Amazon]
≫ Optional: Plastic sheets and gloves (for protecting surfaces and hands)
Instructions:
- Prepare the Surface: Clean the plate with tissue paper or a soft cloth to remove dust.
- Plan Your Design: Decide where you want to place the beads before gluing.
- Apply Glue: Apply a small amount of glue to one section at a time.
- Place the Beads: Use tweezers or a bead tool to place the beads onto the glue.
- Let Dry: Leave the plate flat and allow the glue to fully dry.
Note: Work in small areas so the glue does not dry before placing the beads.


 .
.
Validate your login